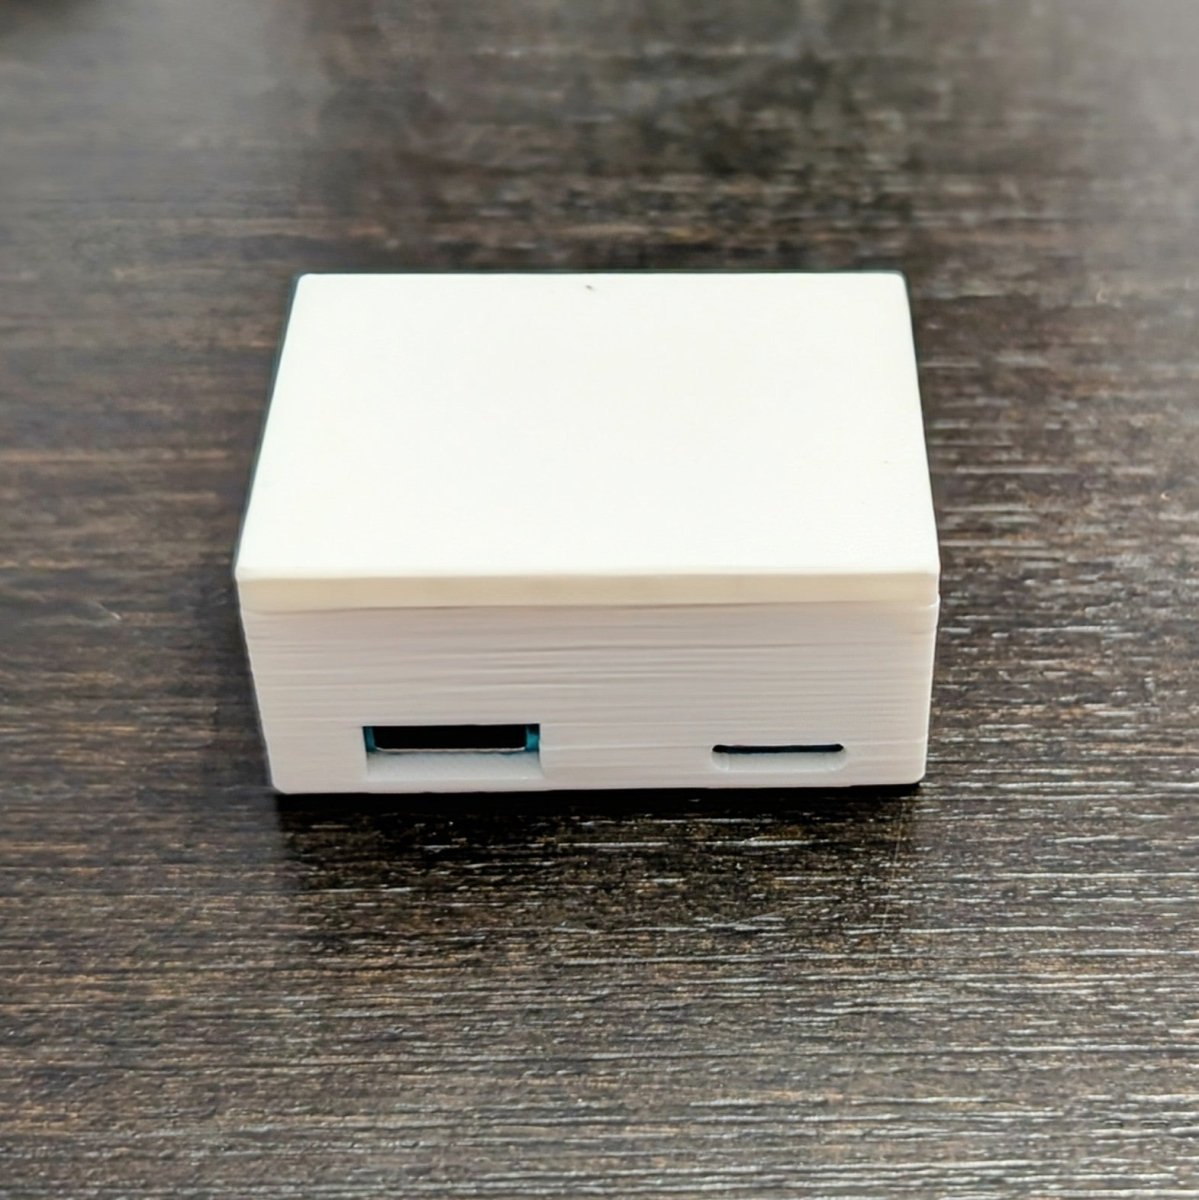
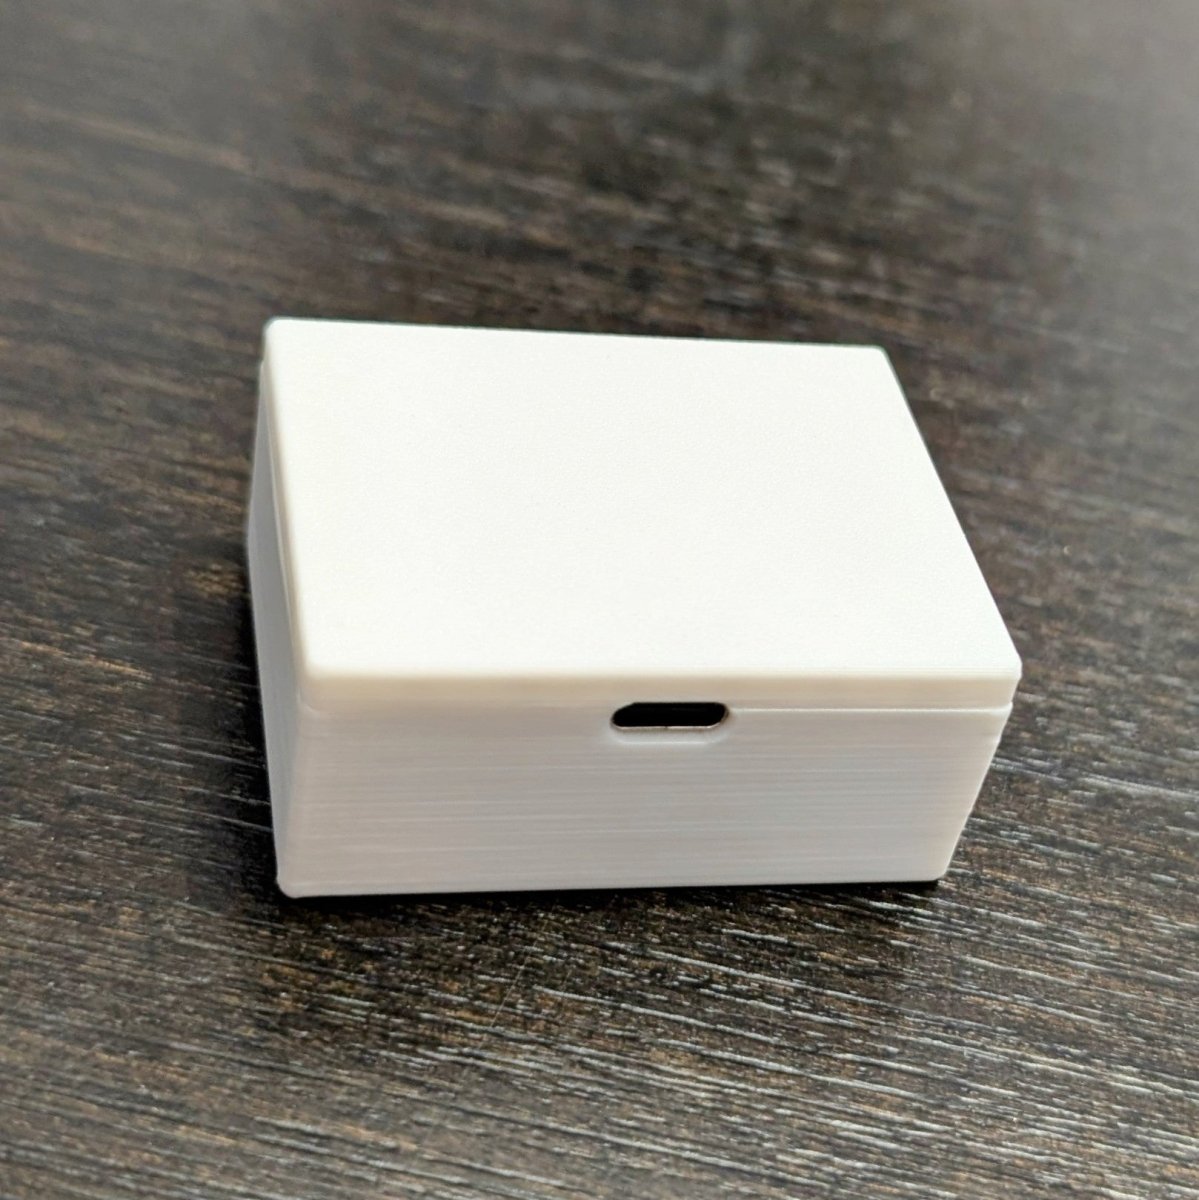
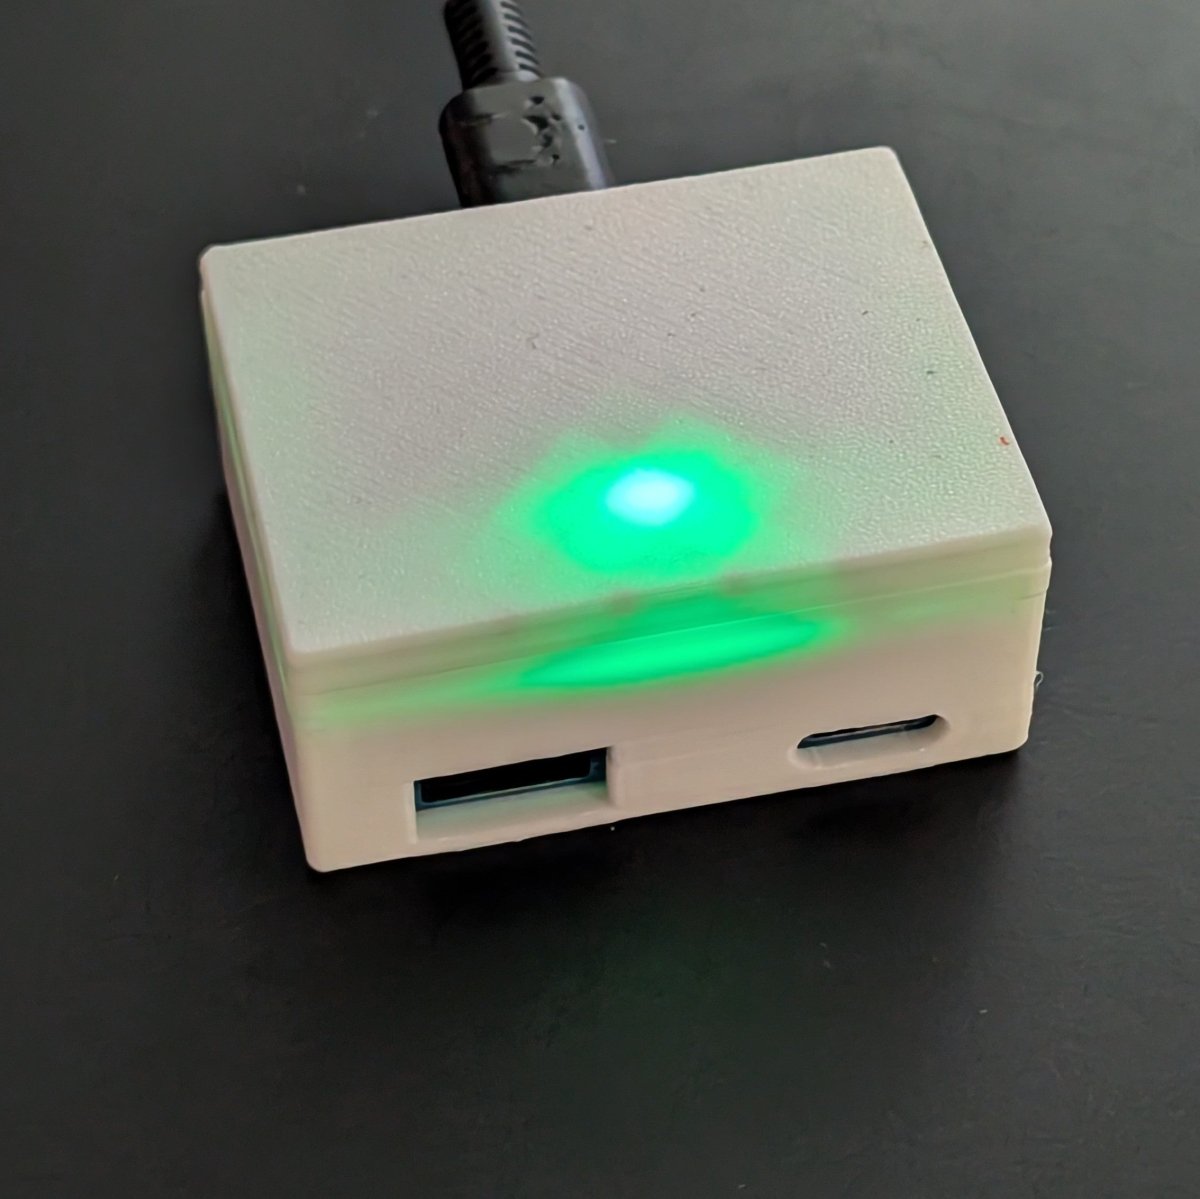
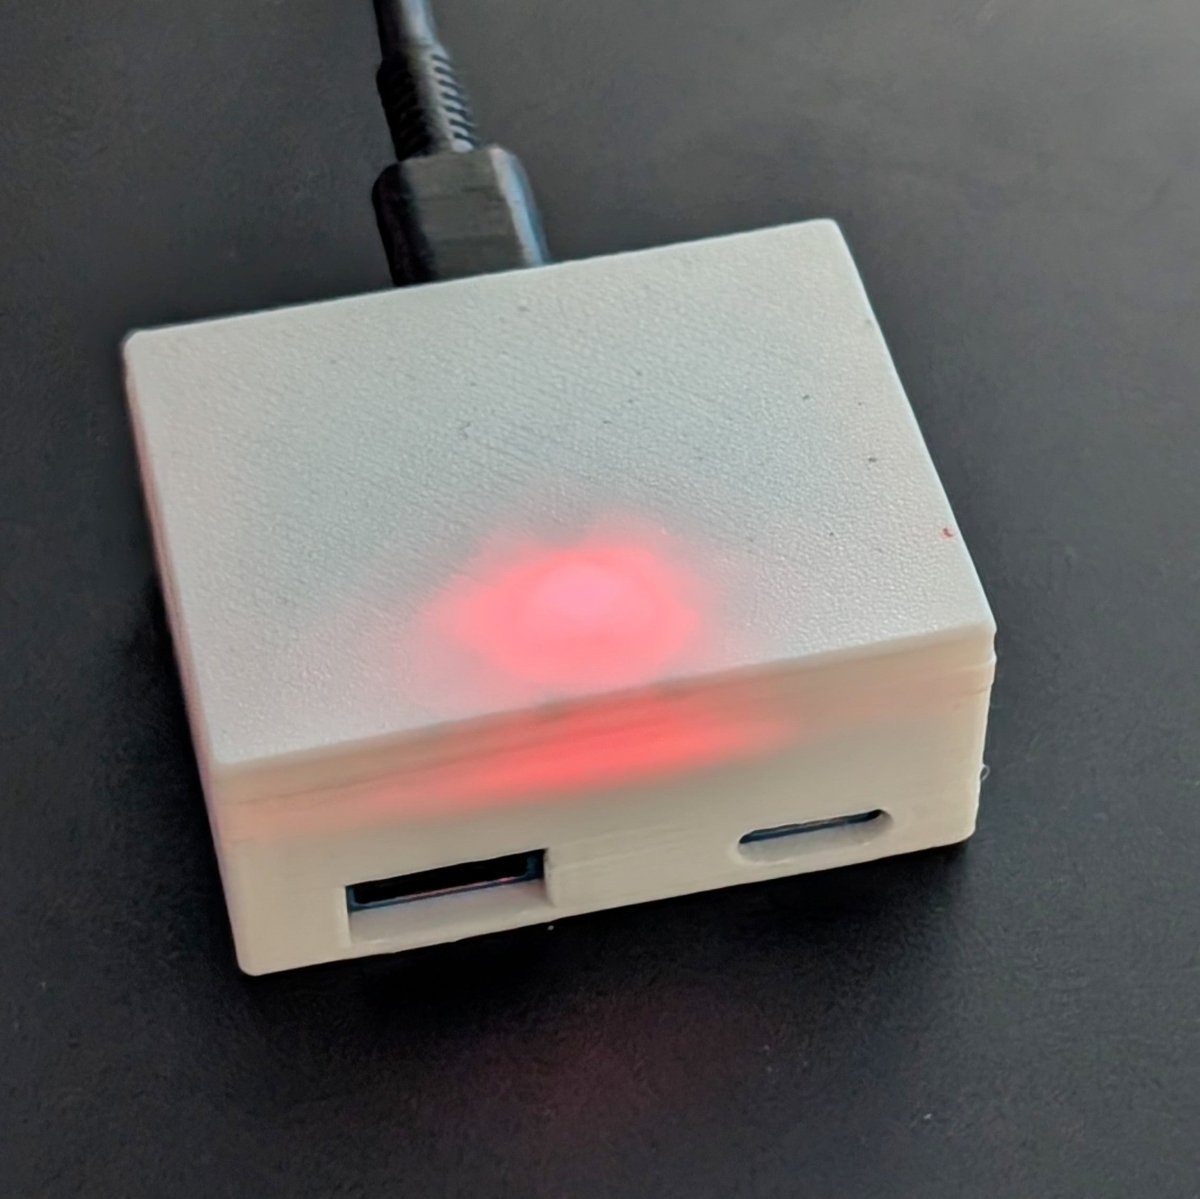
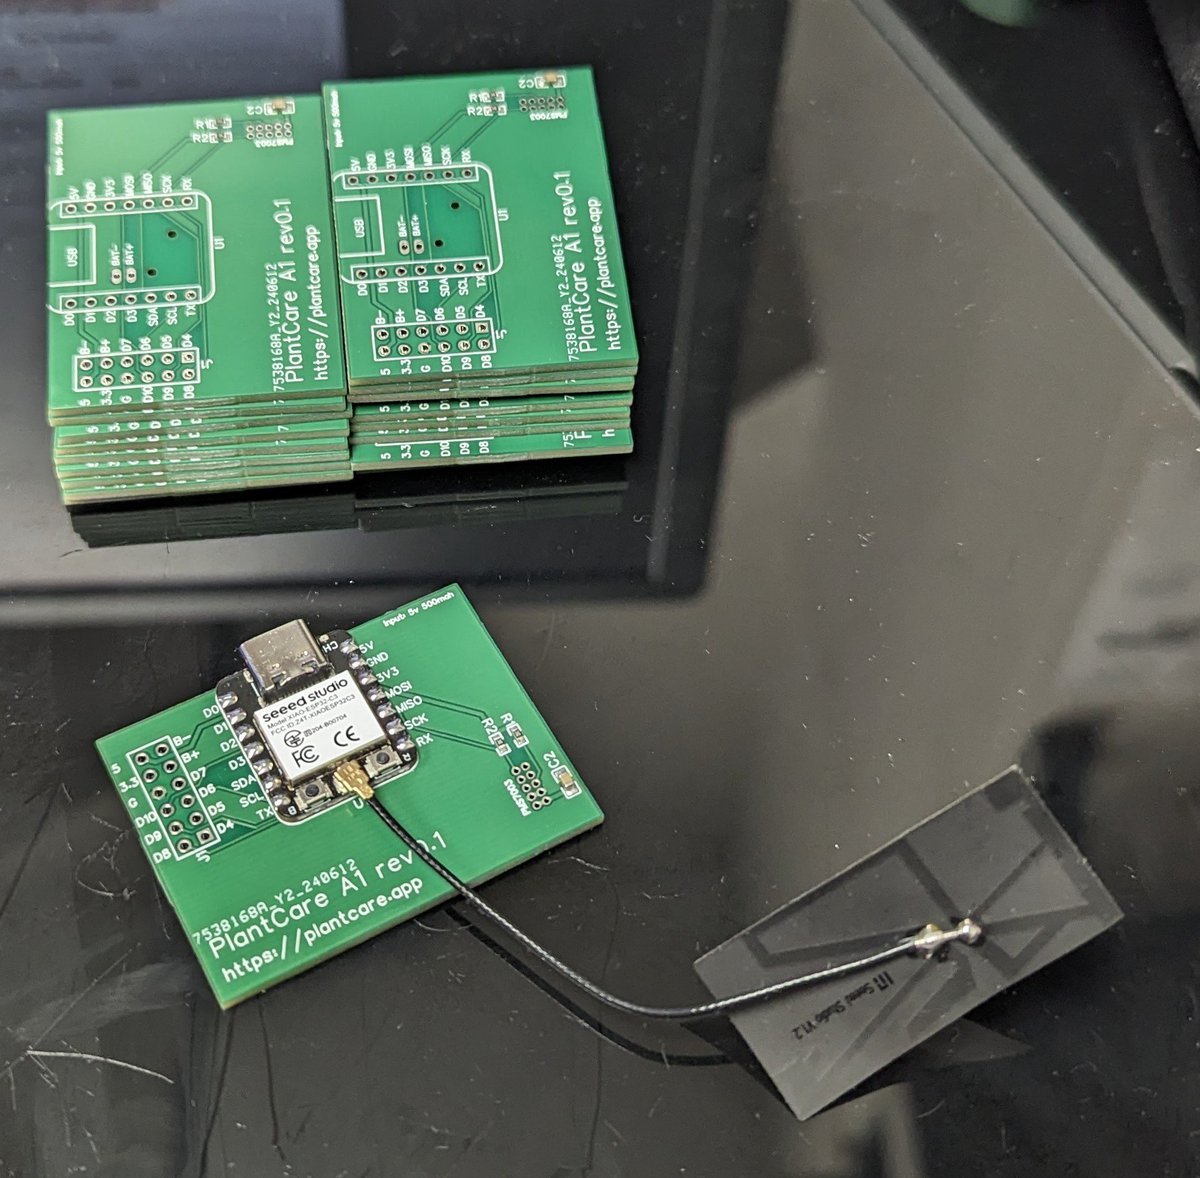
Plantcare A1 Air Quality sensor PCB
Want it Pre-Assembled?
Air Monitoring PCB for Seeed Xiao modules, a portable sensor that can provide the level of quantity of the suspended particulates with their mass. The Air Monitoring PCB is compatible with a powerful and hi-tech PMS7003 sensor that provides the information of suspended particulate matter(PM1.0, PM2.5, PM10) in the air per unit volume via digital output with an operating voltage of 3.3 V. It communicates via UART(serial) with the standby current ≤200 Microampere(μA) of the sensor.
Features:
- Seeed Xiao SMD layout
- Operating Voltage 5V DC
- PMS7003 Sensor Pins
- Additional breakout pins
- Battery Breakout pins for certain modules
Compatible modules:
- XIAO SAMD21 (No battery pin support)
- XIAO NRF52840
- XIAO NRF52840 Sense
- XIAO RP2040 (No battery pin support)
- XIAO ESP32C3
- XIAO ESP32S3
- XIAO ESP32C3 Sense
- XIAO ESP32C6 (No battery pin support)
PMS7003 Specifications:
- Measurement range: 0.3~1.0;1.0~2.5;2.5~10 μm
- Effective range: 0~500 μg/m³
- Max. range: ≥1000 μg/m³
- Resolution: 1 μg/m³
- Power supply: 5V
- Logic(UART) voltage: 3.3V
- Operating current: up to 100mA
- Standby current: ≤200 μA
- Dimensions: 47.8 x 36.8 x 12 mm / 1.9" x 1.4" x 0.5"
Pinout
- D0 = GPIO2 = PMS7003 RST
- D1 = GPIO3 = PMS7003 RX
- D2 = GPIO4 = PMS7003 TX
- D4 = GPIO6 = PMS7003 SET
Setting Up Tasmota Rules for PMS7003 Sensor
To wake up the PMS7003 sensor every 5 minutes for a reading and then put it back to sleep, you can use Tasmota rules to control the SET and RST pins. Here’s how you can configure it:
Step-by-Step Configuration
- Configure GPIO Pins in Tasmota:
-
D0 (GPIO2): Set as
Relay2
for RST. -
D1 (GPIO3): Set as
PMS5003 RX
. -
D2 (GPIO4): Set as
PMS5003 TX
. -
D4 (GPIO6): Set as
Relay1
for SET. -
Create Tasmota Rules:
- Rule1: To wake up the sensor every 5 minutes.
- Rule2: To put the sensor back to sleep after taking a reading.
Example Tasmota Rules
Rule1: Wake Up the Sensor
This rule will wake up the sensor by setting the SET pin high every 5 minutes. Rule1 ON Time#Minute|5 DO Power1 1 ENDON
Rule1 1
- Time#Minute|5
triggers every 5 minutes. - Power1 1
sets GPIO6 (SET pin) high to wake up the sensor.
Rule2: Put the Sensor to Sleep
This rule will put the sensor back to sleep after a short delay (e.g., 30 seconds) to allow for a reading. Rule2 ON Time#Minute|5 DO backlog Delay 30; Power1 0 ENDON
Rule2 1
- Time#Minute|5
triggers every 5 minutes. - backlog Delay 30; Power1 0
waits for 30 seconds and then sets GPIO6 (SET pin) low to put the sensor to sleep.
Rule3: Reset the Sensor
This rule will reset the sensor at boot. Rule3 ON System#Boot DO Power2 1 ENDON
Rule3 1
- System#Boot
triggers at system boot. - Power2 1
sets GPIO2 (RST pin) high to reset the sensor.
Summary
- Rule1 wakes up the sensor every 5 minutes.
- Rule2 puts the sensor back to sleep after 30 seconds.
- Rule3 resets the sensor at boot.
By following these steps, you can ensure that your PMS7003 sensor wakes up every 5 minutes for a reading and then goes back to sleep, conserving power and extending the sensor's lifespan.
Kit Content:
1 x Air Monitoring PCB
Note: header pins and other items are only for reference!